Monday, October 2, 2017

Snarls and How to Get Rid of Them!

This post applies to everyone.  If you have hair, you have gotten snarls or still do get them.  We go through a good deal of detangler at our house.  We spray some on Kinsley's hair almost every day. She must fight her pillow when she sleeps because she needs detangler every morning.  I like to spray a tiny bit on my hair before I brush out my wet hair.  It just helps the brush go through hair more smoothly and makes sure that I am not pulling too hard on my hair.

I thought I would share a few of my favorite products!

 I do always recommend a conditioner in the shower but these spray-in detanglers are just added conditioning for your hair.  They are nice to have around, especially when winter comes and you are dealing with static. The extra moisture is helpful.

My favorite leave-in detangler is It's A 10 miracle leave-in product.  Just a few sprays and your wet brush will be gliding through your hair.  It has a pleasant smell and does not leave a build up.  I use this on myself and the girls.  It is light enough for thin hair, but works great on people with tons of hair and lots of texture as well. Remember with all detanglers, that they do not go on the roots, just the ends.  Spraying on the roots can make it look oily for any detangler.  This product can be found on Amazon, Ulta, or ask your stylist if she carries it!

There isn't very many products from Paul Mitchell that I use anymore, but one that has stood that test of time is Paul Mitchell Lite Detangler.  It is truly as lite as they claim.  If your hair is ecspecially thin, this would be a good one to consider. If you have very thick or textured hair, do not use this. It will not help you!

Another one I like to recommend is Not Your Mother's Knotty to Nice conditioning detangler.  This one is made with Brazilan Keratin.  So, not only is it detangling, but keratin is a product that is used to help build up the strength in your hair.  This can be found at Ulta or your local drugstore.

One that I do like for kids is L'Oreal Kids Tangle Tamer. I think this is one of the top selling detanglers.  It is gentle and truly works so great on a kids' snarly mane.  It has a pleasant smell and from what I am able to tell it does not leave any build up on the hair.  The best part is it can be picked up at any store and is never more then $8.


Wednesday, September 27, 2017

Favorite Tools

I have talked about my favorite hair products before and only touched briefly on my favorite hair tools to use.

Brushes
Wet Brush- Wet brushes are my number one go-to hair brush.  They have one that detangles and is awesome for all types of hair. They also have one that is the Wet Brush Shine which is used for blow drying.  The bristles are different and it works great when you blow dry.


Round Brush
Ceramic round brushes are great for curling your hair or straightening your hair durning blow drying. The ceramic pieces heat up and allows for the hair to get a bend in too. These are great for all lengths and textures of hair.


Boar bristle round brushes are a more natural way to help straighten and add shine to your blow out. These bristles grip the hair a little bit more than synthetic bristles.  I find these best for fine haired individuals.

Picking the correct size of round brush is vital to helping you with your style. The bigger the round brush, the more volume and straighter your hair will be. The smaller the round brush, the less volume you will create, but you will have more curl or bend.
I found this guide to help you in your purchase!

  • Short hair (chin length and shorter) – Use a small to medium round brush 1″ (25mm) to 1.4″ (35mm)
  • Medium hair (chin length to collar bone) – Use a medium round brush 1.4″ (35mm) to 1.7″ (45mm)
  • Long hair ( Collar bone length or longer) – Use a medium to large round brush 1.7″ (45mm) to 2.2″ (55mm)

Blowdryers
If you are in the market for some new tools, I hope this helps.  Or maybe add it your list of items you hope to purchase. I will be listing a few that range in price.  You can really spend up to a couple hundred dollars on a blow dryer.  Now I don't think that is necessary. There are plenty of good blow dryers for a decent price

Conair Ionic Turbo Styler-  A great deal for only  $30. It dries hair quickly and leaves hair looking great after a blow dry.

Conair 1875 Watt Cord-Keeper Compact Styler -  If you are limited on space, this a great option.  It has a retractable cord and can fold up.  For only $24.99 this would be one to keep at your cottage or in your camper!

Chi Rocket Dryer - At $124, this is a big jump in price, but for some a hair dryer is an investment.  Chi is a great name brand.  They make solid products that cut hair drying in half.  If you are looking to spend a bit more on a really nice dryer this would be my number one pick!

Babyliss Pro TT Tourmaline 5000 Dyer - $124 - I have not used this dryer, but from everything I have read is that this dryer is extremely efficient cutting drying time in half.  If you have tons of hair that takes forever to dry, this might be the dyer for you.

Curling Irons/Wands
For wands, my absolute favorite and what you see me using almost all the time, is my Nume classic styling wand. I have the 25mm and I love it.  It heats up and cools down quickly.  It makes curls efficiently and they last all day. Follow Nume on social media, so that you can snatch some of their products when they run one of their amazing sales. 
Nume Wands

Curling Irons - For a long time I have used the Hot Tools curling irons.  Hot Tools makes solid tools. They have a great warranty system and rarely do you need it because these curling irons last forever.  I like to use the 1 inch curling iron.  If you are looking for a versatile tool this would be it. It works for many lengths of hair and textures.  It has heating settings on it so that you can control the temperature. 
Hot tools

Straighteners - I don't use my straighteners all that much anymore, but two I would recommend if you are in the market are Nume Fashionista Hair Straighteners and Chi Hair Straighteners.  Both of these brands have a wide variety of straighteners.  I think you would be pleased with any of them.  Find one that is in your budget!
Nume Straightener and Chi Straightener

I linked as many to Amazon as I could. The rest I either could not find on Amazon.  Most of the other ones are found on other websites or at your local Ulta.  Ulta runs great deals on tools.  Keep an eye out with the holidays fast approaching for all their specials!

Friday, September 22, 2017

All Things Pumpkin

I love all things pumpkin.  I eat pumpkin items all year round, but really amp it up come fall time.   So, I thought I would share with you all of my favorite pumpkin treats.

Pumpkin Spice Nutpods - Nutpods are non-dairy coffee creamer.  They are really good. They allow a little flavor to your coffee, but without all the unnecessary cream and sugar.  I order mine on Amazon. Unfortunately they seem to be sold out everywhere! Amazon doesn't have them right now and even the official Nutpd website is sold out.  Hopefully they will be back soon!

Pumpkin Chocolate Chip Cookies - This recipe is from my "Fowler Cookbook" and it is one of my favorites.  The cookies are incredible and are always a hit whenever I bring them some place.  I always double the batch because it does not make a ton of cookies.

Pumpkin Chocolate Cookies
1 C. cooked pumpkin
1 C. sugar
1/2 C. vegetable oil
2 C. flour
1 egg
2 tsp. baking powder
1/2 tsp. cinnamon 
1/2 tsp. salt
1 tsp. soda dissolved in 1 tsp. milk
1 tsp. vanilla
1 C. chocolate chips
Mix all together and bake at 350 degrees for about 12 mins.


Pumpkin Crunch Cake - Pure delicious.  It is like a pumpkin coffee cake, but with the chopped pecans and melted butter on top, it is just so much better!  I have to make this cake when I know people will be around to eat it, or else I end up eating way too much.  Here is the link for my favorite pumpkin crunch cake. Pumpkin Crunch Cake

Pumpkin Muffins - Now these are actually good for you.  Made with whole grains and sweetened with honey, they taste like a treat but are surprisingly healthy.

Carrot-Pumpkin Muffin
1 1/2 C. Whole wheat flour
1 1/2 tsp. pumpkin pie spice
1 tsp. baking soda
1/2 tsp. baking powder
1 egg
1 C. pumpkin
3/4 C. honey
3 TBSP. applesauce
1 C. shredded carrots
Mix all together and put in muffin tins. Bake at 350 degrees for 25 minutes.


Pumpkin Whip with Ginger Snaps - This recipe takes only a few ingredients and no more than 10 minutes to make.  It is a great dessert to bring to a get-together because it is fairly lite. I am not a huge ginger snap fan, but with the pumpkin whip, you barely notice the ginger snaps.  I guess if you did not like ginger snaps, you could eat it with graham crackers too! Pumpkin Whip


Monday, September 18, 2017

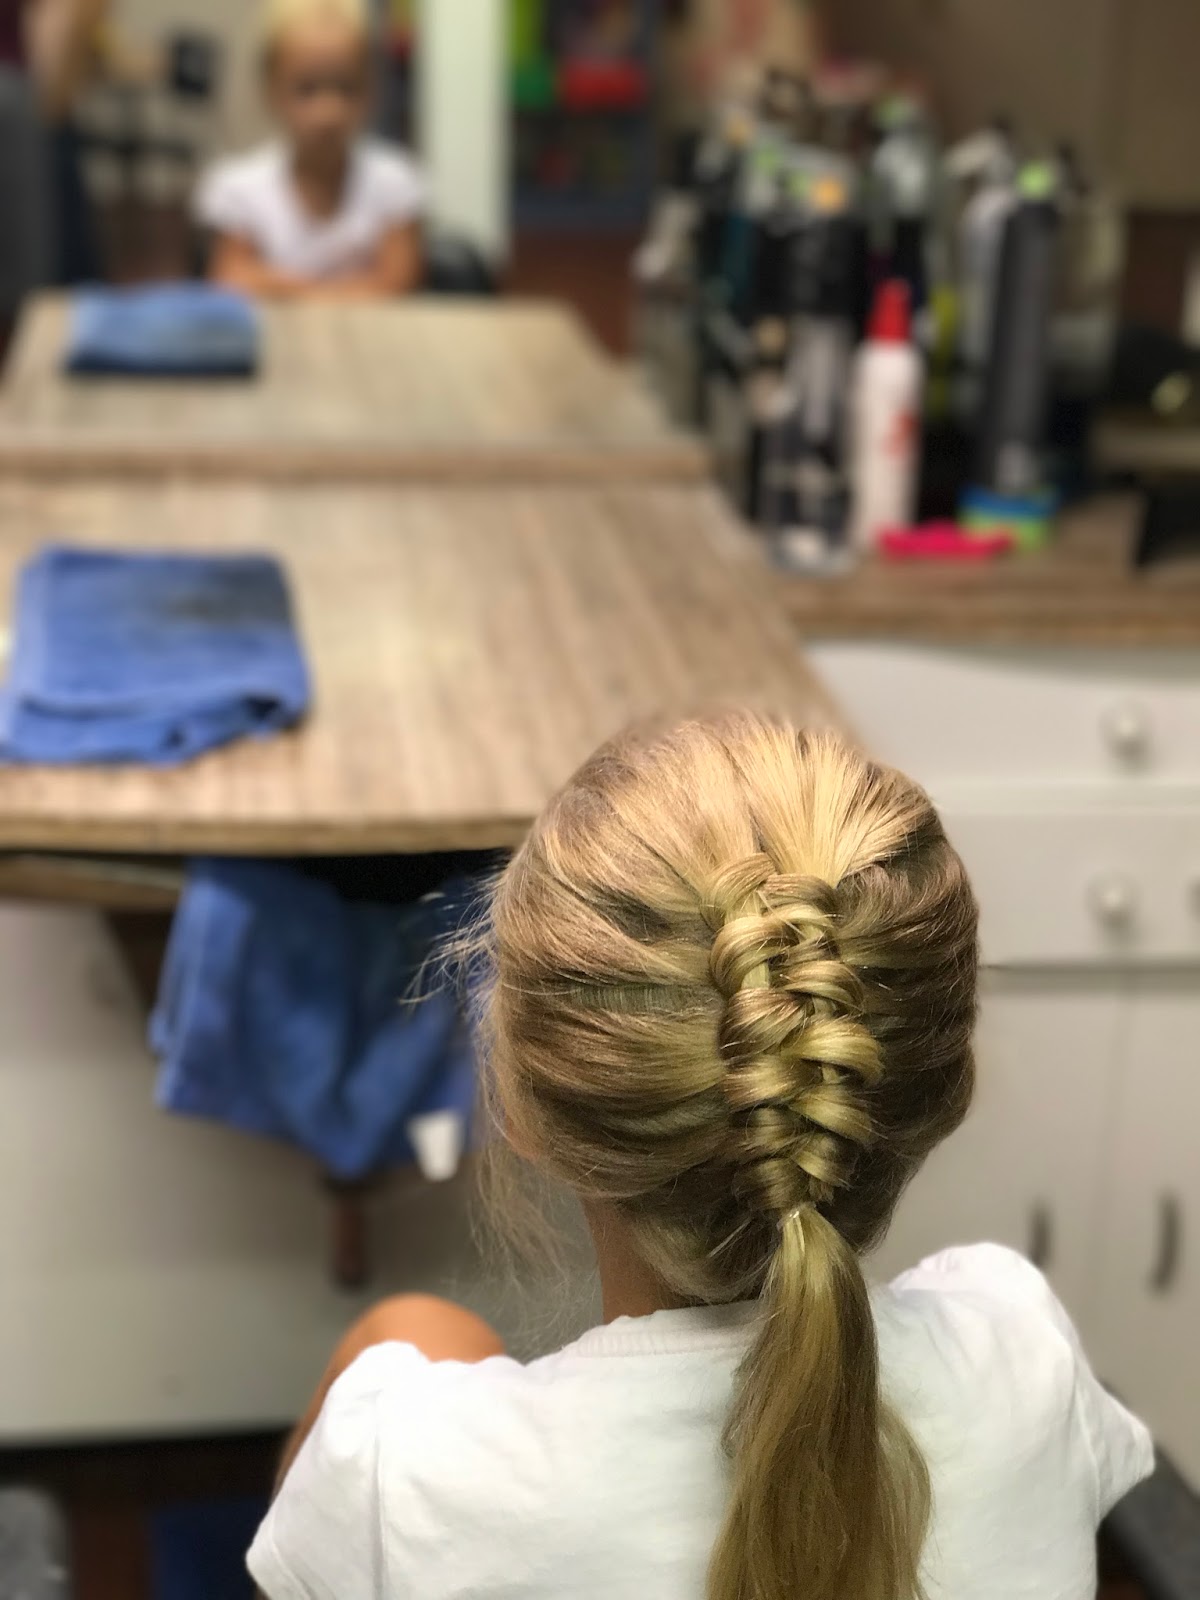
Infinity Braid (Figure Eight Braid)

I could try and write about how to to this braid, but I think that would be far more confusing than watching the video.

A few tips to help. I like to take a top section and split it in two for the start of the braid.  Next, you are really going to make a figure eight or infinity symbol with the hair.  After you do each figure eight, pull the two strands tight to make the eight keep its shape. You are going to feel like you are not doing the braid the first few figure eights, but keep tightening it and continuing the motion and you will see the shape start to take form.  In all honesty, I struggled with this braid, but once I got it down it is such a fun and different looking braid to do.

The video will do a much better job explaining how to do it!


Tuesday, September 12, 2017

Laced Headband Braid

This style is channeling Angela from "The Office". I feel like she wore a style like this a lot on that show; however, I still love it.  It looks so cute when the hair is left down in the back or if you connect it to a pony tail.

For this style I used just a normal French braid,  except when I do a laced braid I am just adding hair to one side of the braid.  The side closest to the forehead is where I added from, and the other side I just braided like normal.

From a few trial and errors I have found that it works best to start on the side of the head that has the most hair, so that by the time you get to the thinner side, you have a pretty thick braid already.


Tuesday, September 5, 2017

Quick and Easy Hairstyles

One of the requests I got a few weeks back was to show a few quick and easy hairstyle for people who can't do hair at all.

I thought this would be a perfect time to do this since your mornings might be a tad busier getting everyone out the door, or you are new mom and need to do something to your hair.  In the video I go over six hairstyles that are so easy and I think they are all under two minutes.

Number 1 - If you have blown dry your hair for the day, you put a little oil in it to calm the ends or the frizz and call that a day.  Your stye is done.

Number 2 - I tried to do all non-braiding styles.  This style is simple. Just take the front sections of your hair and secure them in the back.  You can secure your hair with a bobby pin or a jaw clip. It is easy and has a classic look when it is swept back.


Number 3 -  To get your bangs out of your face take two pieces of hair, twist them back, and secure with a bobby pin.  A few months ago I posted a blog about ways to not tuck your hair behind your ears. Here is the link to that for a few more ideas of fast styles: Get Your Bangs Out of Your Face!


Number 4 - Make a classic straight pony tail, then take a little section of hair, wrap that around your pony tail holder, and secure it in place with a bobby pin.  I am always impressed how that simple trick makes a pony tail looks so much better.


Number 5 -  This is just a topsy turvy.  You are taking your pony tail and flipping it through a hole.  If you wear ponies a lot this is a great variation to it.


Number 6 - Even if you struggle doing hair, I am guessing you know how to curl your hair.  Do a handful of big curls to add a little body to your hair and have a fast style on those busy mornings.


Monday, August 28, 2017

Fall Hair Trends!

Didn't I just write the post about spring/summer hair trends?  That is how it feels. Summer just flies by. I love summer so much, but fall in Michigan is beautiful!

Here are some trends that I am seeing for fall.  For haircuts, not a ton has changed on that front.  You are seeing more bangs.  They are either very razored and piecey looking or you are going with the very blunt straight across trend.  While in theory I love bangs, a good reminder is that bangs are fussy and always require work. So my advice is to think long and hard about cutting bangs.


You are also going to be seeing what they are calling "the shag".  Now of course this style already happened in the 70's. We aren't channeling the Mrs. Brady style shag, as this is a bit more disconnected, which means the layers aren't as blended, and some are shorter layers. They are very textured layers to achieve that messy look.


If you are a long haired girl, the trend for long hair is to keep the length and have no layers.  One length long hair, again very 70s here.  We are seeing a bit of a trend aren't we? 😃

Cuts that are still working great for fall are those long bobs; they are so classic and versatile. If you have a little girl that is ready to cut her hair,  most of the time I recommend a long bob. It gives them the change that they need without going too short!


Now for color.  This fall is where some people like to change up their color a little.  They like to add some reds, or a warm color or tone down their blonde for the summer.  Not me. I like my hair blonde all year long. Boring I know! If I was going to be adventurous and really switch things up, I have all heart eyes for that solid Rose Gold hair.  I just love it!


A very popular trend this fall is called Merlot color. It really embraces the red, copper, and violet tones.  So if in the spring you decided to do an ombre and your ends are lighter and you want to change it up for fall, this would be a great choice.  If you aren't afraid of color, give it a try!
If you do have ombre hair, and are ready to be done with it, this is a great way to try a little red brown on it, or get really daring and give that red violet look a try.  I love how the red violet looks on dark hair. It is so pretty!


Another easy fall trend is toning your blonde from the summer.  Let's say you decided to get highlights and now you don't want them anymore. Have your stylist tone them to a caramel, or golden brown.  It updates your look and warms up your hair a bit more. I think this picture shows how her highlights are toned down towards the back of the head, but around her face they left it a bit lighter.  This is a place that would naturally stay light, so this is a great fall transition color.


Along that same line is putting in low lights.  I have quite a few clients that for spring and summer we just go highlights but come fall and winter, we start putting in some lowlights.  It still allows them to have lighter hair, but adds more dimension.

These are just a few ways you can update your hair for fall!!